These cookies are required for the website to run and cannot be switched off. Such cookies are only set in response to actions made by you such as language, currency, login session, privacy preferences. You can set your browser to block these cookies but this will prevent the site from functioning correctly.
These cookies allow us to measure visitors traffic and see traffic sources by collecting information in data sets. They also help us understand which products and actions are more popular than others.
These cookies are usually set by our marketing and advertising partners. They may be used by them to build a profile of your interest and later show you relevant ads. If you do not allow these cookies you will not experience targeted ads for your interests.
These cookies enable our website to offer additional functions and personal settings. They can be set by us or by third-party service providers that we have placed on our pages. If you do not allow these cookies, these or some of these services may not work properly.
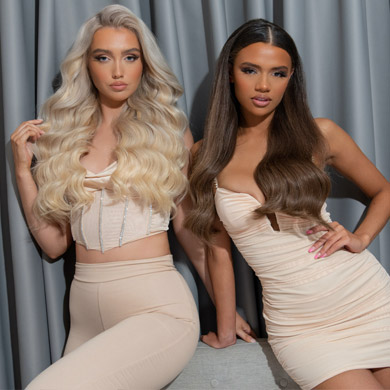
Wedding season is officially here and even if you’re not walking down the aisle yourself, getting your hair right is crucial. Those pictures are going to pop up on your feed for many anniversaries to come, so you really need to avoid a disaster. To help you out we’ve put together 5 wedding guest hairstyles that will work with every type of dress. From low ponies to intricate braids these are the looks you need to be seen in. Grab your fascinator girl...
Bubble Braid
This bubble braid is perfect if you’re planning on wearing a fascinator or high neck dress and is also really on trend right now. To create the braid clip in your M+B hair extensions and then take two sections at the front of your hair either side of your part. Twist one section back and pin it in place, leaving the other section loose and tie the rest of your hair into a pony. Next take the other section and twist it like the first, then pull it back and wrap it around the hair tie to hide it. Once you’re done you can pin this in place and move onto the next bobble. Take a hair elastic and tie it further down your pony and then pinch and pull on your hair to create the bubble effect. You can make this as messy and textured as you like and once you’re done wrap a piece of hair from below the bobble around it and pin in place. To complete this look repeat the last step until you reach the end of your pony and add a dust of hairspray for hold.
Embellished Waves
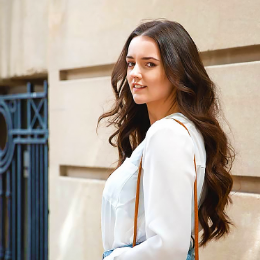
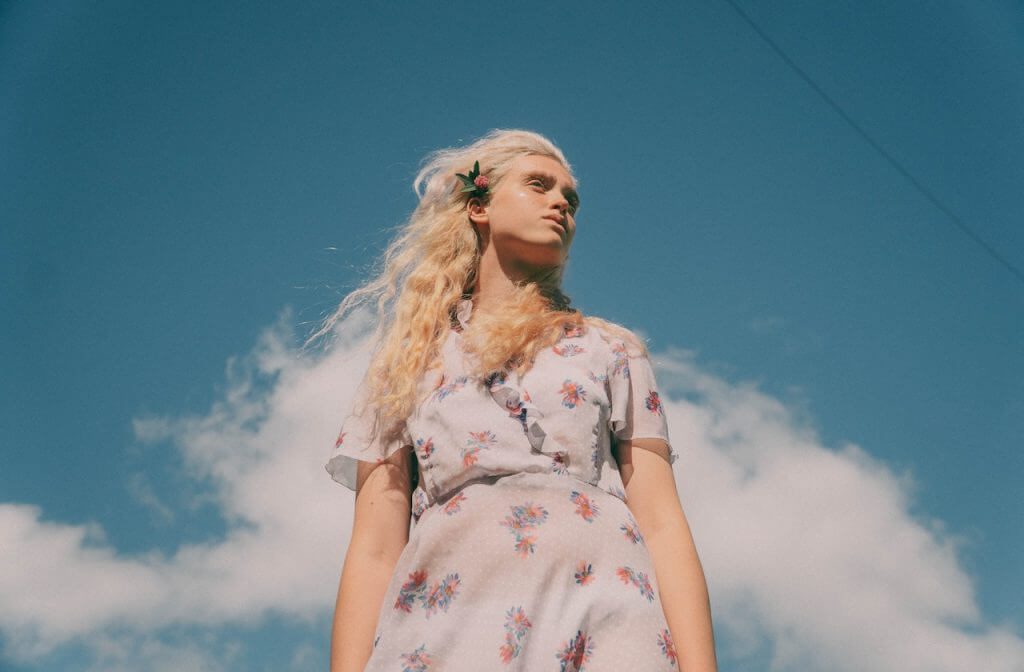
This hairstyle’s way more relaxed and would be perfect with a super feminine, floaty dress. We also love that it incorporates one of the biggest trends of the season: hair accessories! To create these waves start by using a comb to pull your hair into a deep side part and then section off the hair at the nape of your neck, clipping the rest out of the way. Taking small sections use your straighteners to create a curl in the middle of your hair, leaving your roots and ends straight. Repeat this process until you’ve curled all of your hair and then leave it to cool before brushing out the waves to soften up the look. To finish clip your favourite hair accessories in at the side and add a dust of hairspray for hold.
Textured Bun
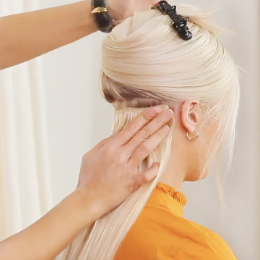
If you really want your look to last all day then this textured bun is going to be perfect for you. Start by raking your hair back into a high pony using your fingers and secure it with a hair tie. Next pull out some loose strands around your face and tug on your hair to add some texture to the look. To create the bun take small sections of hair and twist them in a loop before securing them down with a hair pin. This can be as messy as you like and will work best when you twist the hair in opposite directions as it creates more volume. Once you’re done and your bun is secure you can pull out some strands to add some more volume. Done!
Pearl Ponytail
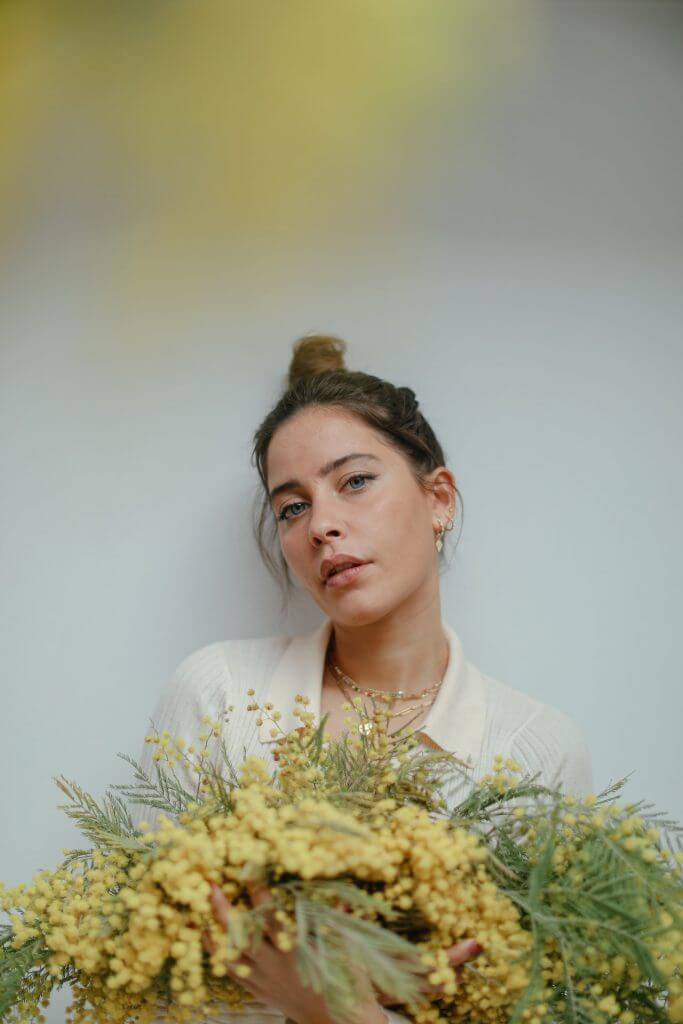
This style is giving us major Chanel vibes and is the most low maintenance and easy to create on this list. To start clip in your M+B Hair Extensions and then scoop your hair back into a loose, low pony. Next tie another hair elastic in the middle of your pony and secure it with a hair tie. Pinch on the hair in between to loosen up the look and use your pearl hair pins to cover the hair ties. If you don’t have pearl pins this look would be really pretty with some flowers too, especially our fave gypsophilia.
Double Braid Bun
This look is a little tricky but once it’s done it will stay in place all day and works so well with a high neck dress. To start part your hair in the centre and then lace braid the left side of your hair to the back of your head. Next repeat the process on the other side and pull all your hair into a low pony at the nape of your neck. You can then twist your hair into a neat bun and pin it in place with some bobby pins. For extra shine, spray some dry oil over your hair and smooth down any flyaways with hairspray to finish.